What happened:
I hope to one day say this piece took me the longest to make- I hope I never take four months to make anything again.
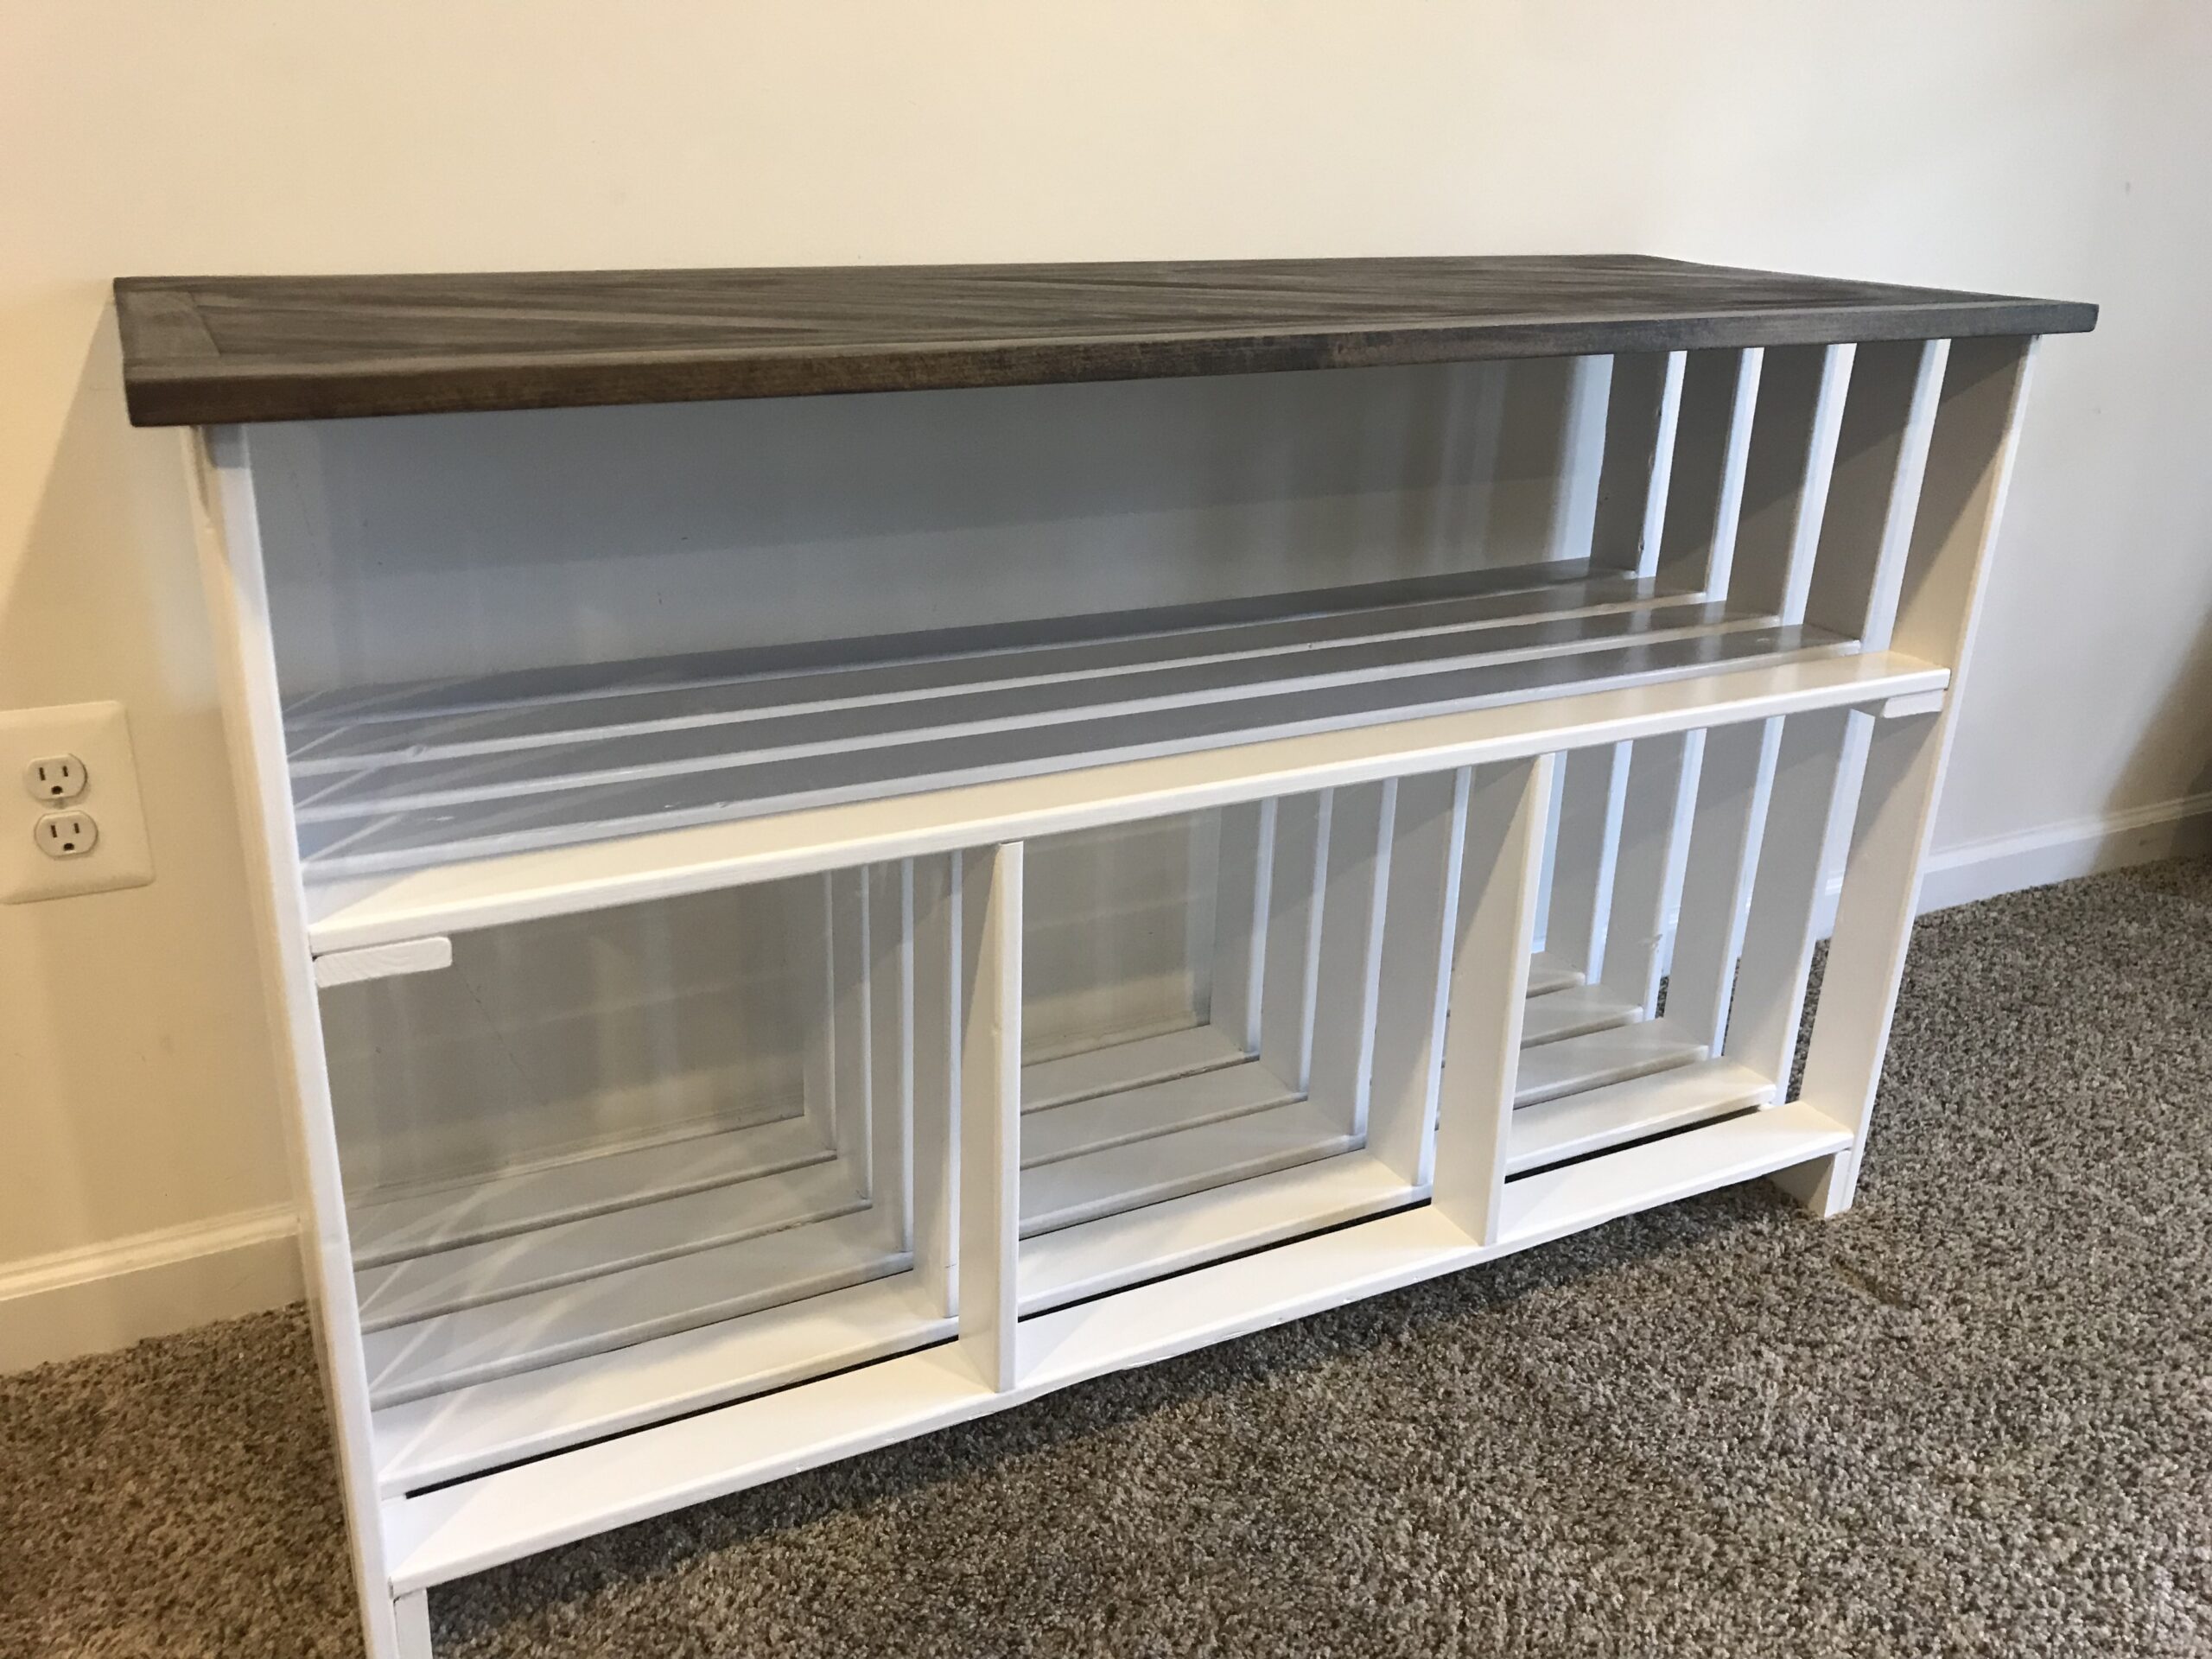
The design idea for the bottom section of this piece came from the fact that I had a bunch of 1”x4” pine boards. The wood had previously been used when I made a room divider for my niece. The wood was full of screw holes where it had been held together as well as staple holes that had held the fabric on. Some of the pieces were also quite bowed which hadn’t been as much of an issue when making the room divider. I quickly found out that the bowing would become an issue for my storage piece. The bottom as you can see is very simply done- the hardest part I found was dealing with the bowed pieces and hiding the holes. I decided the only way to attempt to hide the bad shape that the wood was in was to paint it.
For the top, I decided I needed to “pretty it up”. I had already written this project off as a failure so I wasn’t willing to spend much money on it… I chose some milled poplar from the home improvement store. I glued the slanted boards in 4-5 piece sections then cut the sides of those groups before gluing each group together. I didn’t like the combination of the poplar with the white paint on the bottom so I decided to stain the top a dark color then protected it with two coats of Arm R Seal.
What I learned from this project:
1 ) Using scrap wood, although cheap/free, may not always be a great idea- especially if the scrap wood came from a project that you care very little about and hadn’t been discerning when selecting the wood.
2) When something isn’t going right with a project, I have a tendency to find excuses to not be out in the garage saying “I’m thinking” about ways to get around a problem. This is why this project took so long to do when in fact it was a very simple build.
3) Use nicer wood so I don’t feel a need to paint or stain everything- wood can be so beautiful, why am I covering it up?